- Your agency’s name will show throughout the platform as given.
- Your logo (png, jpeg, gif, and more) will be fitted to the top left of the portals (dashboard and portal) and will show on the sign-in page when using a white labeled domain.
- Your brand hex colors will overwrite anything that is color-coded such as the menu select, conversation select and more.
- The domain mask allows you to add a domain or sub-domain to mask the platform’s domain. You will be able to access the platform from your newly added domain under a different cookie (so it will require you to log in once more).
- When editing your white label domain, you will be able to configure:
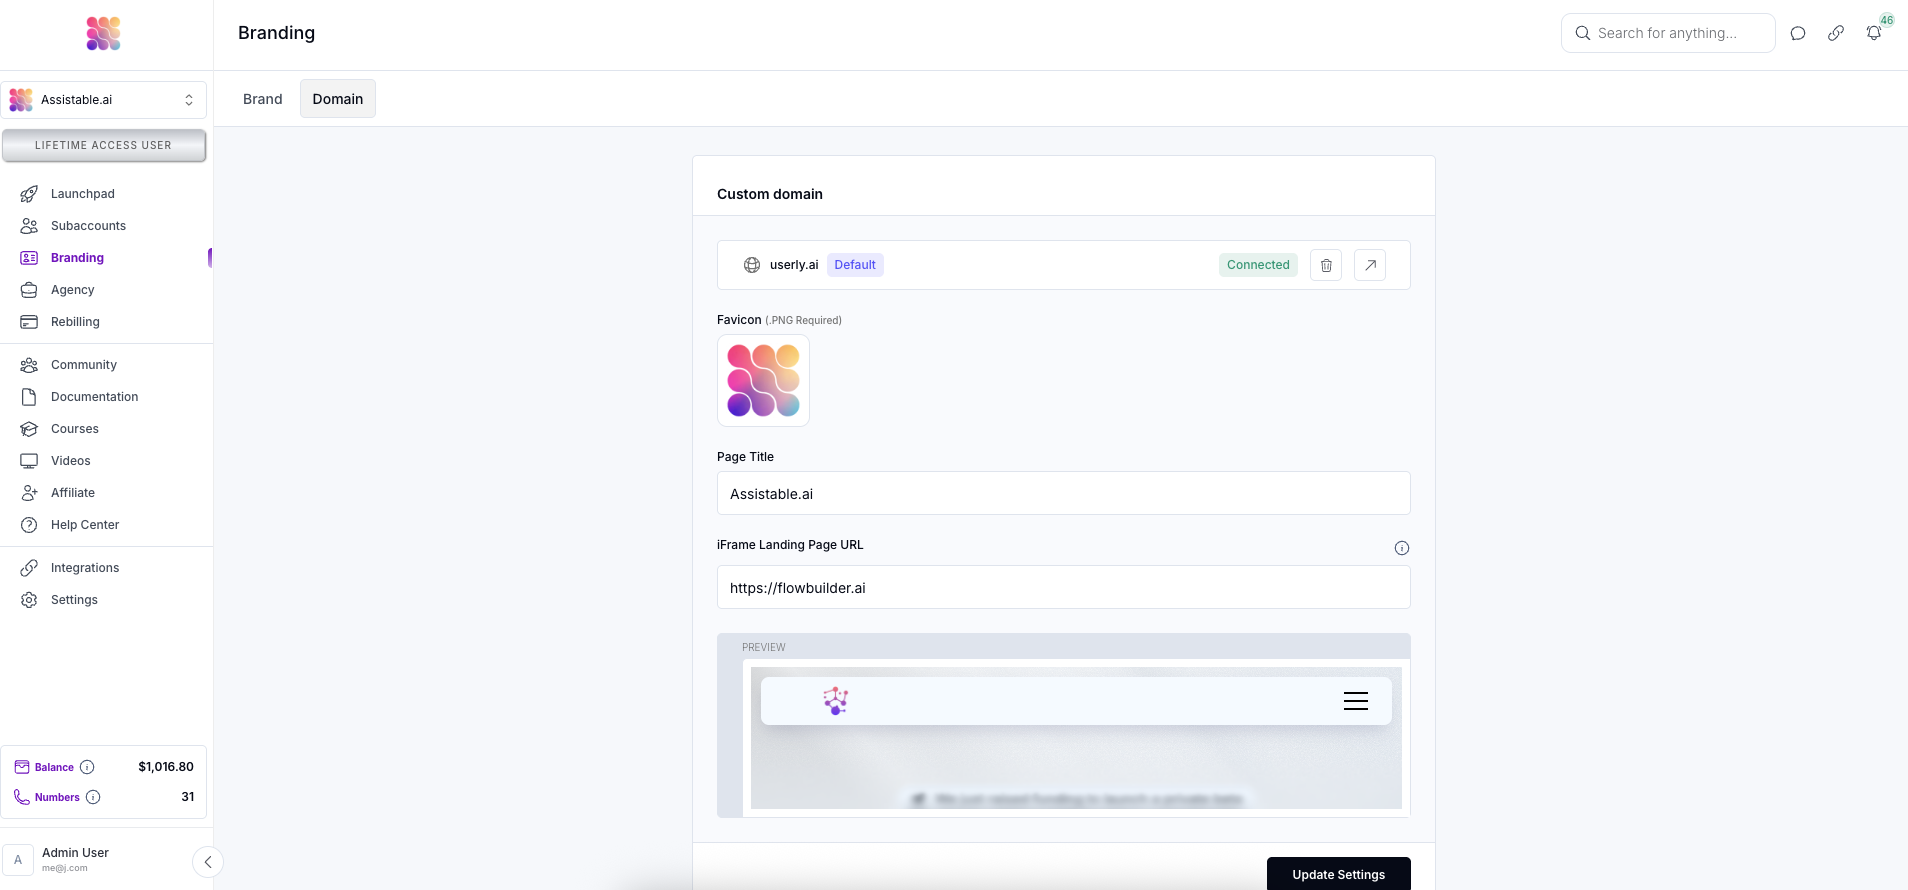
- The favicon
- The page title
- iFrame landing page (masks our index page for better white label, you can insert your wesite here and we will display it as the index, or root page of the application. You can configure a sign in button in your website builder to take the user to the sign in page https://example.com/access for an easy integration)
- When editing your white label domain, you will be able to configure:
- Documentation URL allows your to input a website URL for your documentation. This will show a button in the header bar of the sub-account that will allow you or your users to navigate to documentation easy.
- Navigate to https://assistable.ai/dashboard?page=branding&view=brand | https://createassistants.com/dashboard?page=branding&view=brand. Go to the ‘Branding’ tab. This is where you will be able to configure your white label.
- Add your logo. This can be PNG, JPEG, GIF or other image-style file types. Once loaded and saved, this logo will overwrite the Assistable.ai logo in the top left corner of all related portals.
- Add your brand name / agency name. This name will be referenced in the related portals and workspace switchers / managers.
- Input or select your brand’s color hex code. If you have a branding kit or know your hex code, you can input the hex code in the input or select a color in the color picker. Once saved, the color will overwrite all ‘selected’ states of all related portals.
- (Optional) Add a documentation URL. If you have users / clients who will be working in the AI portal, it may be useful to add a documentation URL that is easily accessible for the end-user to select if needed.

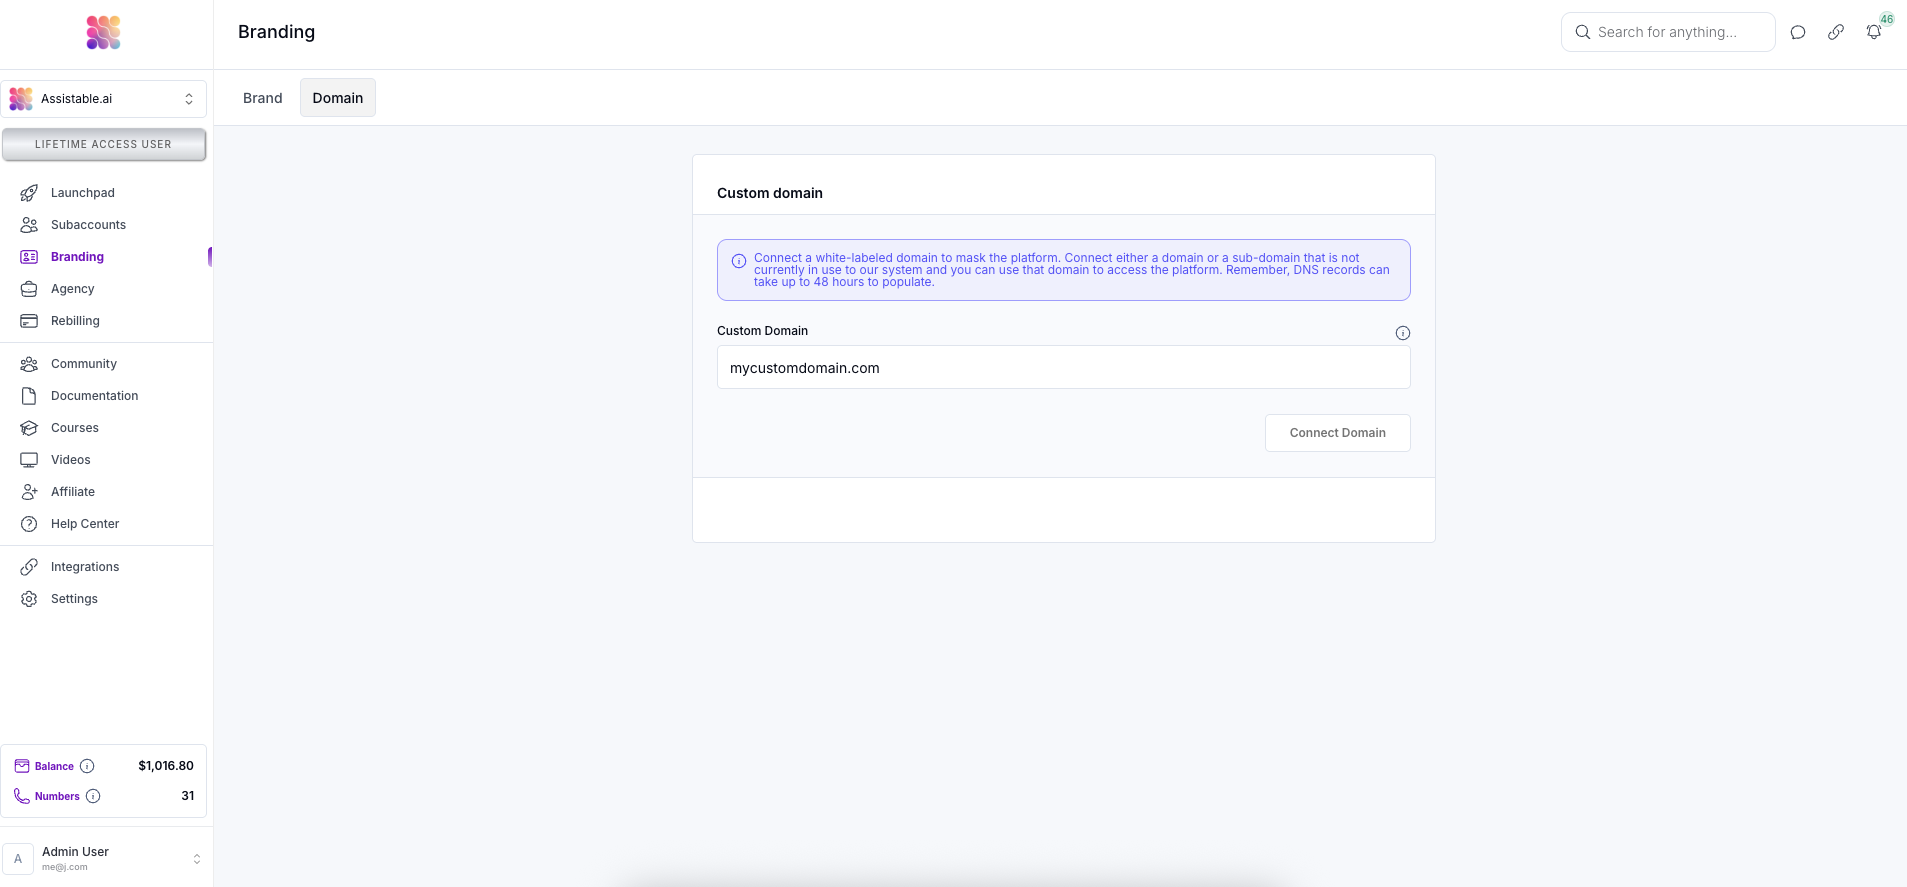
- In the top menu, select domain or navigate to https://assistable.ai/dashboard?page=branding&view=domain | https://createassistants.com/dashboard?page=branding&view=domain. This is where you will be able to configure your white label domain.
-
Add your domain or sub-domain. Make sure this domain or sub-domain is not used by any other service or hosting otherwise it will not work (domains and sub-domains are fine. If I have https://assistable.ai pointing to a landing page, I would be able to add https://bot.assistable.ai fine. However, I would not be able to add https://assistable.ai because it is obviously already pointing to something)
-
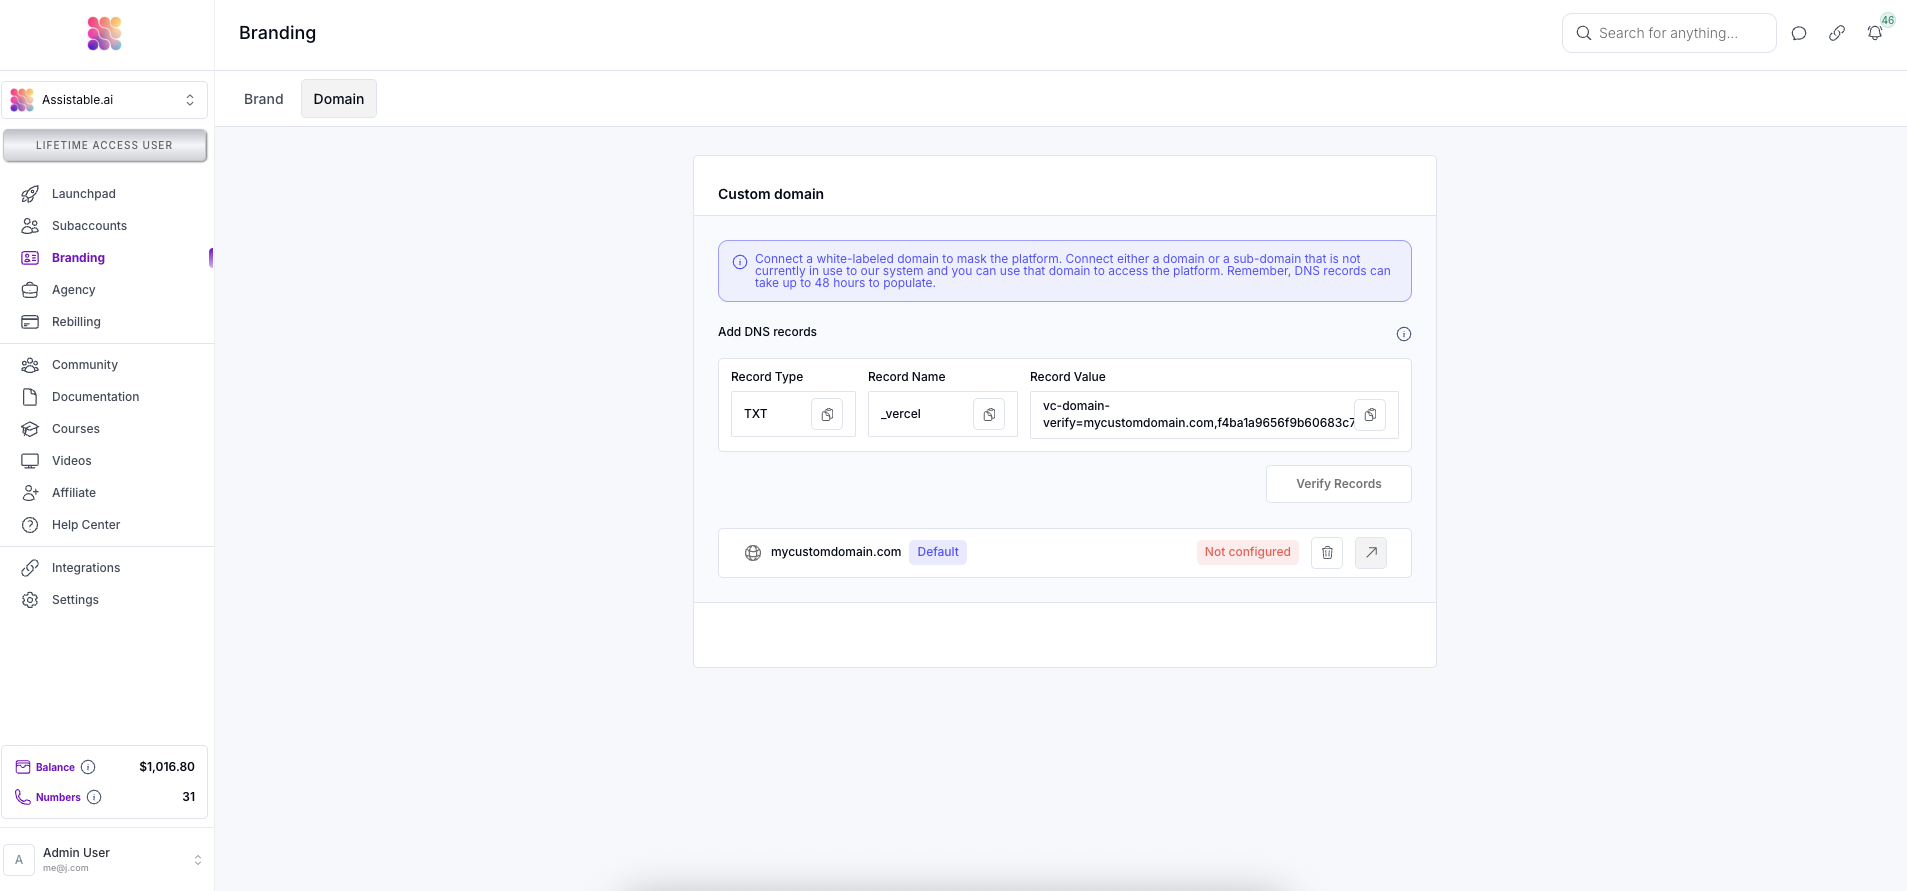
Add the specified DNS records for your URL. Once these are added you can check ‘Verify Records’ to ensure these are done correctly. Please understand and note that DNS records may actually take up to 48 hours to show up. If the verification button doesn’t work the first time, its not broken - come back later to try again.
- Once your records are verified, you will be able to configure your domain as you would like.
-
Add your domain or sub-domain. Make sure this domain or sub-domain is not used by any other service or hosting otherwise it will not work (domains and sub-domains are fine. If I have https://assistable.ai pointing to a landing page, I would be able to add https://bot.assistable.ai fine. However, I would not be able to add https://assistable.ai because it is obviously already pointing to something)